SHOPPING CART
Your cart is empty.
shop now

Your cart is empty.
shop now

Maintaining clean and safe drinking water is essential for a healthy lifestyle. One of the key components in ensuring the purity of the water dispensed from your refrigerator is the refrigerator water filter. In this guide, Nearfilter will walk you through the simple steps to change the water filter in your fridge, helping you maintain the quality of your water supply.
Step 1: Identify the Filter Type
Before you begin, it's important to identify the type of water filter your refrigerator uses. Refrigerator water filters come in various shapes and sizes, so consult your refrigerator's manual or the manufacturer's website to locate the correct filter model.
Step 2: Gather Supplies
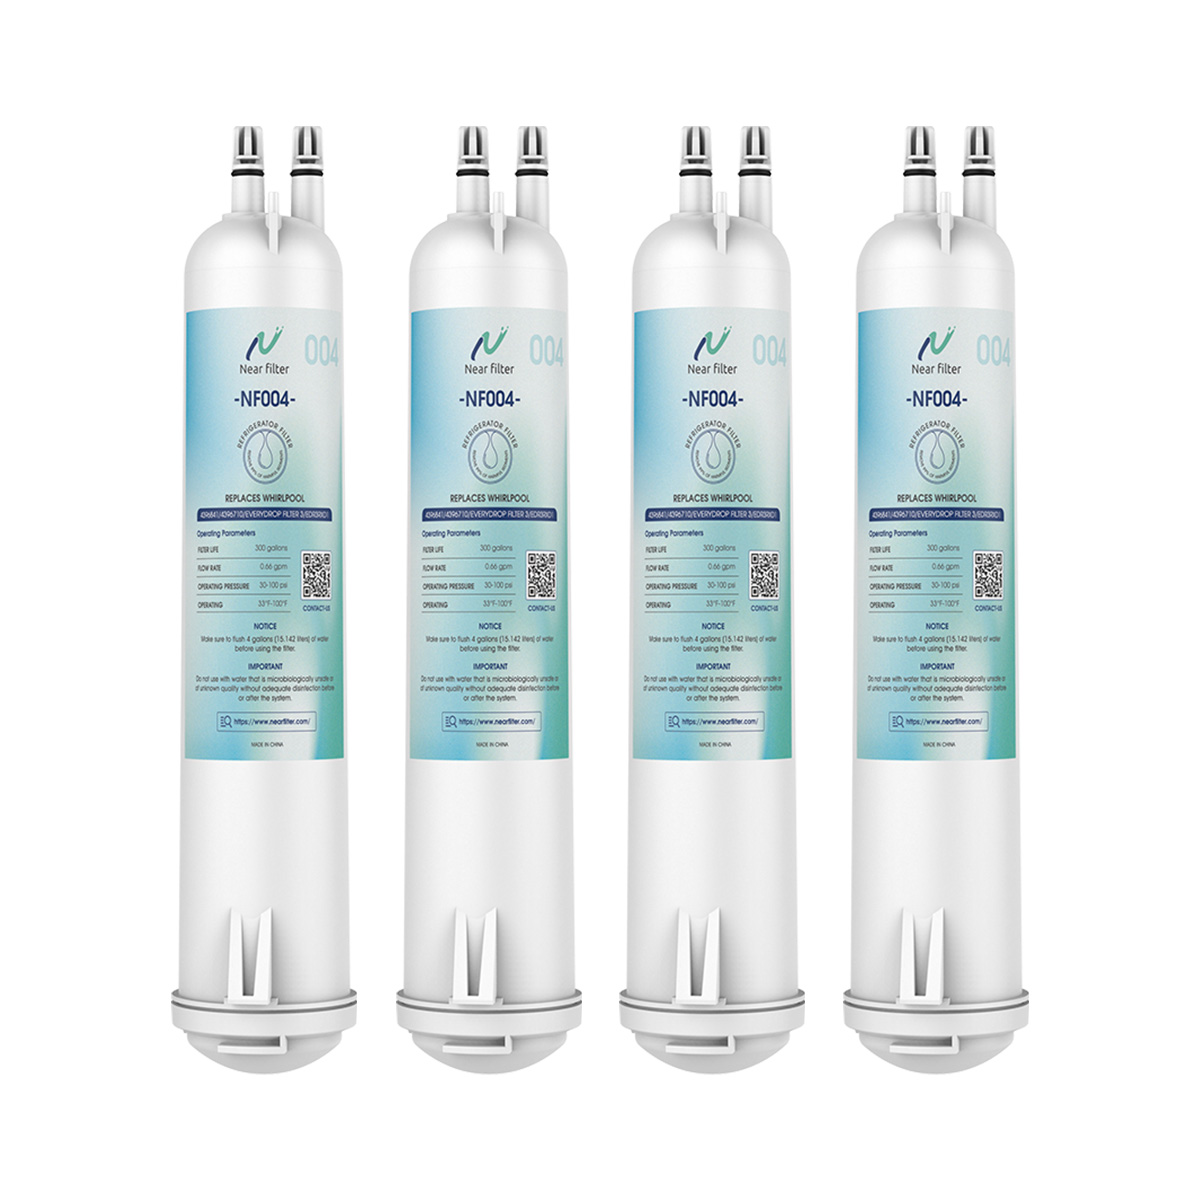
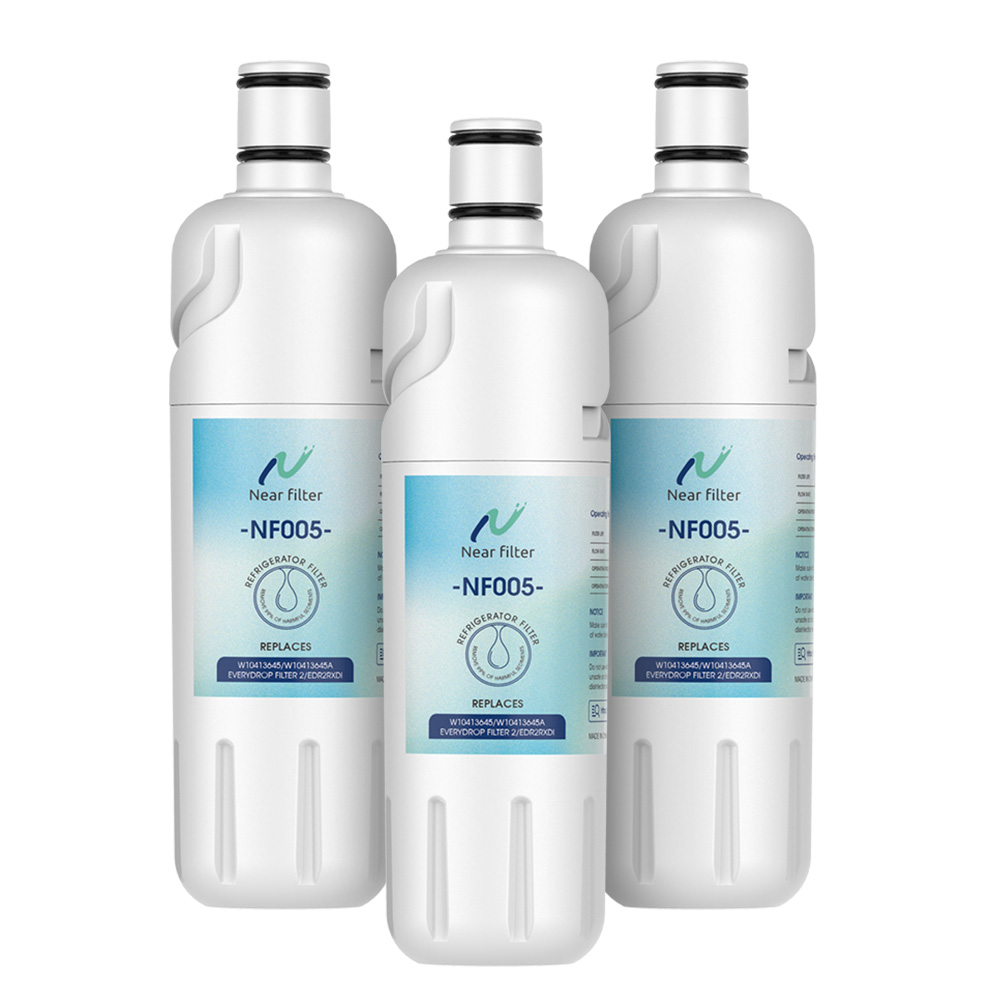
Make sure you have all the necessary supplies on hand. Typically, you'll need a new refrigerator water filter, such as Edr3Rxd1 Filter, edr2rxd1 compatible filters, or the other filter model, a towel or cloth, and potentially a bucket to catch any excess water.
Step 3: Shut Off the Water Supply
Locate the water supply valve to your fridge and turn it off. This step prevents water from flowing while you're changing the filter, minimizing any potential mess.
Step 4: Access the Old Filter
Open the fridge doors and locate the filter housing. Depending on your fridge model, the filter housing might be located in the interior ceiling, grille, or behind a panel. Follow the manufacturer's instructions to access the old filter.
Step 5: Remove the Old Filter
Carefully remove the old water filter by turning it counterclockwise. Some models might have a push-button release or a pull-and-twist mechanism. Have a towel or cloth handy to catch any drips.
Step 6: Prepare the New Filter
Unpack the new filter and remove any protective packaging. If your filter has a cap, remove it as well. Be sure to check if there are any stickers or tabs that need to be removed before installation.
Step 7: Install the New Filter
Insert the new filter into the housing and turn it clockwise until it locks in place. Follow any installation guidelines provided with the filter. Ensure a secure fit to prevent leaks.
Step 8: Turn On the Water Supply
Once the new filter is securely in place, turn the water supply back on. Check for any leaks around the filter and housing area.
Step 9: Flush the System (if required)
Some refrigerator models recommend flushing the system to remove any air or contaminants from the new filter. Follow the manufacturer's instructions for this step.
Changing the water filter in your refrigerator is a simple task that plays a crucial role in providing clean and refreshing drinking water. By following these steps outlined by Nearfilter, you can easily replace the filter, ensuring the continued quality and safety of the water dispensed by your fridge. Remember to consult your refrigerator's manual and the filter manufacturer's guidelines for specific instructions related to your model.
More refrigerator filter models are available for selection from Nearfilter. The quality, pricing, and service will provide you with a unique experience.
Looking forward to connecting with you!

Focus on sharing content related to refrigerator water filters and air filters.